When I first learned how to sew, everything had a seam allowance. The standard was a substantial 5/8 inch. Darts and other markings were transferred to the fabric with a little spiked wheel on a handle and transfer paper coated in colored wax. The little wheel always reminded me of a tiny pizza cutter that might perforate rather than cut through a pizza crust. It made the tedious work of transferring pattern markings more entertaining.
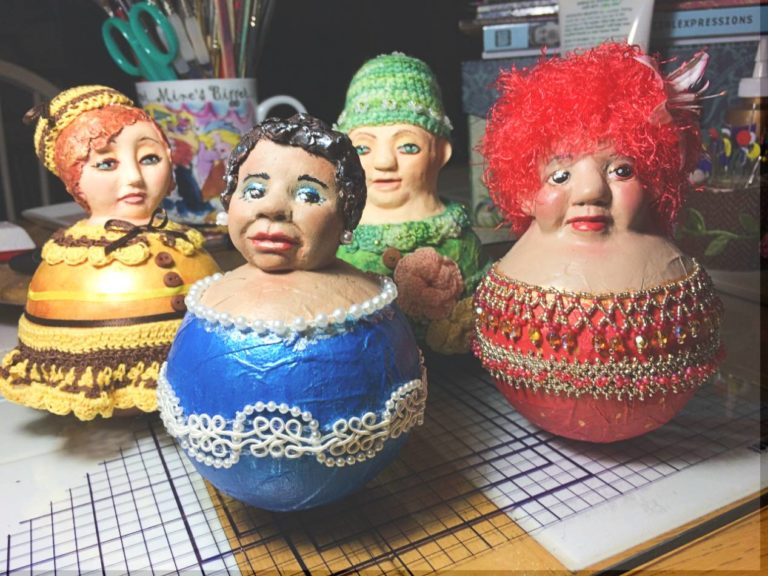
I shifted from making garments for myself to making stuffed animals and rag dolls, but still relied on that little transfer wheel and waxed paper for more than just darts and pleat markings. I used it to transfer faces to the fabric and to outline the simple mitten hands and soles of feet and shoes. Realizing early on that this was probably not the most efficient way to transfer more complicated pattern markings to fabric and with limited resources, I hit the local libraries and thumbed through collections of craft and sewing books and magazines. No quick Internet searching and YouTube tutorials. It didn’t help that I’d skipped passed quilting and more serious garment construction – all of which would have undoubtedly been a great deal more useful than my very basic sewing foundation that would have saved me a lot of headaches. I was operating on what I already knew and my relative impatience to get on with things.
When I wanted to move from simple mitten hands to hands with fingers, I found it impossible to do the rudimentary marking transfers to pattern pieces that inevitably got chewed up in the sewing machine. How was I going to get around the problem of trying to sew delicate fingers keeping to a seam allowance indicated on the pattern? I was still at the stage of relying on other dollmakers’ patterns to make dolls but was also feeling frustrated by my limitations.
I came across the freezer paper approach to sewing with mixed results. For this process, the pattern pieces and markings are traced onto the non-wax side of the freezer paper. The paper, wax side down, is then ironed onto the fabric, or doll skin, creating a sewing guide over the fabric. The dollmaker would sew directly on the freezer paper following the sewing lines that were drawn on it. Once the pieces were sewn together, the freezer paper was torn away leaving behind the sewn pieces ready for the next step. The downside of this method is that you have to recreate the pattern pieces every time you want to make another doll.
The other downside was the wax would start peeling away from the fabric during sewing and you’d risk losing the guide altogether. I know there are doll makers and quilters who swear by this method. I’m not one of them. For most of what I do this has limited application.
Sometimes the simplest ideas come to us when we quit trying to work out a problem on our own. I was discussing my dilemma with a friend, and she asked why I was even incorporating a seam allowance at all. It would be much easier to just create a template that outlined the sewing line, trace it out on the fabric, sew on the line then cut away the remaining fabric with just enough of a seam allowance to keep the stitching from pulling apart when the piece was turned right side out and stuffed. For me, this was so much easier, and a more efficient way to sew together a doll. Depending on the doll or toy, this step could at least be used for most of the seams that didn’t rely on a seam allowance to accomplish the construction, like arms and legs and most torsos and heads.
This brought to mind processes that were incorporated into the basic construction method by only a few doll artists in the past and eventually incorporated by so many others in their patterns that the origins got lost somewhere along the way. A few years after I started incorporating this method, I started seeing it included in other doll patterns. Hmmmm…
Unfortunately, for the originators of these earlier hacks to the sewing process, they rarely if ever received credit or recognition by the up-and-comers who incorporated these developments into their own work. Remember, just because it’s now being presented as a clever technique in a new pattern design doesn’t necessarily make it something new or different. Just a rehash of what’s come before.
Today, more than ever, it is the task of any artist who wants to create something unique and separate from the crowd to come up with an ever more challenging “twist” to the same old theme. What new little technique can I share that nobody else is doing (that I’m aware of right now anyway)? How can I make my signature doll take on a new look that will again draw my old customers to me as well as pull in new and curious dollmakers? How does my product compare to similar dolls? How do I set my work apart from the multitude of others proliferating the Internet?
It’s certainly a different game from thirty or forty years ago and figuring out that using a seam allowance for everything isn’t as efficient as accessing and utilizing as many techniques and hacks as you can to get your work out to the public spaces is ultimately what counts if bringing in new customers/students and selling a product is the goal.